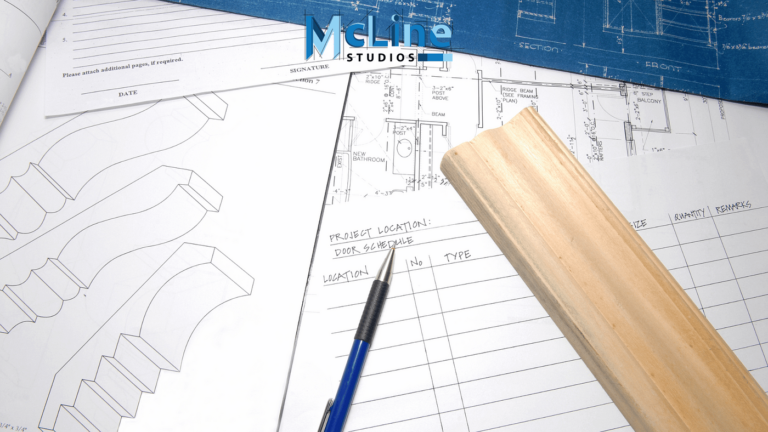
Millwork encompasses a wide range of products, from crown moldings and baseboards to cabinetry and custom shelving. When chosen and installed correctly, millwork can dramatically enhance the aesthetic appeal and value of your home. This article provides insights into choosing the right millwork for your home and offers practical tips for installation.
Understanding Millwork
Table Of Contents
What is Millwork?
Commercial millwork refers to any wood product that is produced in a mill. This includes items such as:
- Trim (crown molding, baseboards, chair rails)
- Cabinetry (kitchen cabinets, bathroom vanities)
- Doors and Windows (door casings, window sills)
- Built-ins (bookshelves, custom storage units)
Types of Millwork
Millwork can be broadly categorized into two types:
- Stock Millwork: Pre-manufactured products that are readily available in standard sizes and shapes.
- Custom Millwork: Tailor-made products designed to fit specific dimensions and design preferences.
Benefits of Millwork
Aesthetic Appeal
Millwork adds character and charm to a home. It can:
- Enhance Architectural Features: Accentuate the height of a room with crown molding or add sophistication with wainscoting.
- Unify Design Elements: Provide a cohesive look by matching trim and moldings throughout the house.
Functional Benefits
In addition to aesthetics, millwork serves practical purposes:
- Protection: Baseboards protect walls from scuffs and damage.
- Concealment: Trim can hide gaps between walls and floors or ceilings, creating a seamless look.
Increased Home Value
Quality millwork can increase the resale value of your home. It reflects attention to detail and craftsmanship, making your property more appealing to potential buyers.
Choosing the Right Millwork
Assessing Your Style
Consider the architectural style of your home when choosing millwork. Here are some guidelines:
- Traditional Homes: Opt for ornate and detailed millwork such as intricate crown moldings and wainscoting.
- Modern Homes: Choose clean lines and simple profiles for a minimalist look.
- Transitional Homes: Blend elements of both traditional and modern styles for a balanced aesthetic.
Selecting the Material
Common materials used in millwork include:
- Wood: Offers a classic look and can be stained or painted. Popular choices are oak, maple, and cherry.
- MDF (Medium-Density Fiberboard): Affordable and easy to paint, but less durable than wood.
- PVC (Polyvinyl Chloride): Moisture-resistant and ideal for bathrooms and kitchens.
Considering the Finish
The finish of your millwork can significantly impact its appearance and durability:
- Stained Finish: Showcases the natural grain of the wood and provides a rich, warm look.
- Painted Finish: Offers a clean, crisp appearance and can be customized to match any color scheme.
- Natural Finish: Clear sealants can be used to protect the wood while maintaining its natural look.
Budget Considerations
Determine your budget before selecting millwork. Custom pieces are more expensive than stock options, and certain materials like hardwoods can also drive up costs. It’s essential to balance quality with affordability.
Installation Insights
Preparing for Installation
Proper preparation is crucial for a successful millwork installation:
- Measure Accurately: Ensure precise measurements to avoid gaps and misalignments.
- Check for Level and Plumb: Use a level to confirm that walls and ceilings are straight.
- Plan the Layout: Mark the placement of each piece of millwork before cutting.
Tools and Materials Needed
Gather the necessary tools and materials:
- Measuring Tape
- Level
- Miter Saw
- Nail Gun and Nails
- Wood Glue
- Caulk and Caulking Gun
- Sandpaper
- Paint or Stain (if required)
Step-by-Step Installation Guide
Follow these steps for a smooth installation:
- Cutting the Millwork
- Use a miter saw to cut the pieces to the correct length.
- Make sure to cut angles accurately for corners.
- Dry Fitting
- Temporarily place the pieces to ensure a proper fit.
- Adjust as necessary before final installation.
- Attaching the Millwork
- Apply wood glue to the back of the millwork.
- Use a nail gun to secure the pieces to the wall, starting from one end and working your way to the other.
- Make sure the nails are countersunk slightly to allow for filling and finishing.
- Filling Gaps and Holes
- Fill nail holes with wood filler or caulk.
- Use caulk to fill any gaps between the millwork and the wall.
- Sanding and Finishing
- Sand the filled areas smoothly.
- Apply paint, stain, or sealant as required, following the manufacturer’s instructions.
- Final Touches
- Inspect the installation for any imperfections.
- Make necessary touch-ups to ensure a polished look.
Maintenance and Care
Regular Cleaning
To keep your millwork looking its best:
- Dust Regularly: Use a soft cloth or duster to remove dust and debris.
- Clean Gently: Wipe down with a damp cloth and mild soap solution as needed.
Repair and Touch-Up
Minor damages can be fixed easily:
- Fill Small Scratches: Use a wood filler or touch-up pen that matches the color of your millwork.
- Repaint or Restain: If the finish wears off, apply a fresh coat of paint or stain to restore its appearance.
Long-Term Care Tips
Ensure the longevity of your millwork with these tips:
- Control Humidity: Maintain consistent humidity levels to prevent wood from warping or cracking.
- Avoid Direct Sunlight: Prolonged exposure to sunlight can cause fading. Use window treatments to protect millwork in sunny areas.
- Handle with Care: Be cautious when moving furniture or cleaning to avoid damaging the millwork.
Conclusion
Choosing the right millwork for your home involves considering various factors, from the style and material to the finish and budget. Proper installation and maintenance are equally important to ensure that your millwork remains beautiful and functional for years to come. By following these insights and tips, you can enhance the aesthetic appeal and value of your home with quality millwork that stands the test of time.
